
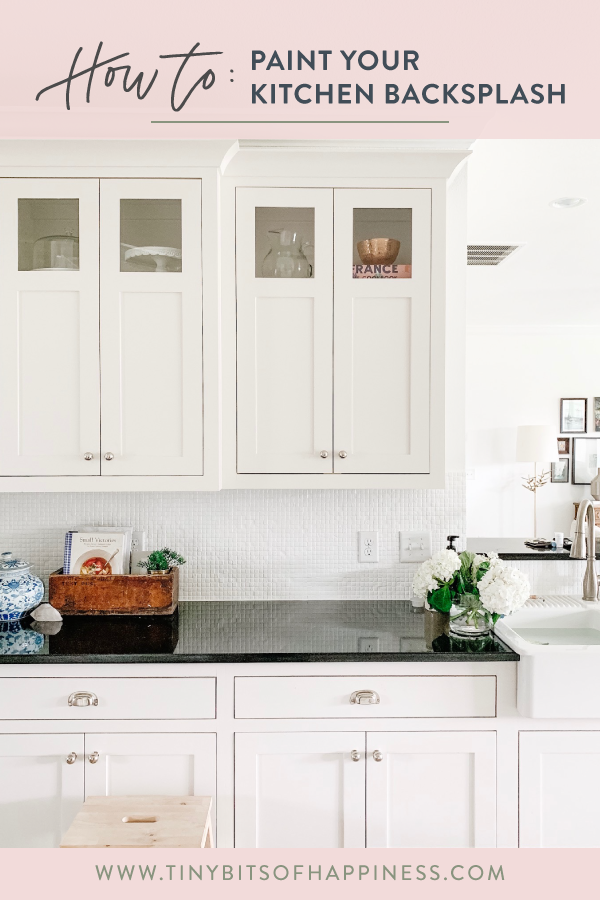
How to: Paint your Tile Backsplash
My mantra: If you hate it, paint it
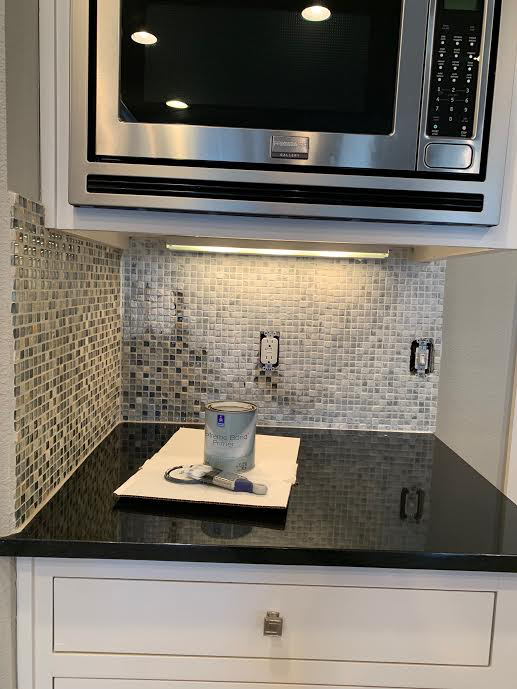
Painting tile is a quick, affordable, and approachable way for changing and updating any space. I’ve painted tile on a fireplace (twice actually!), I’ve painted stone fireplace (it was an 80’s style pink stone, not cute) and when we moved into our new house I knew immediately I was going to paint our tile backsplash. It was a variety of dark colors like black, brown, copper glass tiles with some porous cement tiles mixed in. It was busy and made a dimly lit kitchen feel darker and more cramped. I had only painted fireplaces before and I was a little nervous to approach this new territory.
PAINT IS THE MOST AFFORDABLE WAY TO UPDATE A SPACE.
Like a wise man once said, “if you hate it, paint it.” agreed.
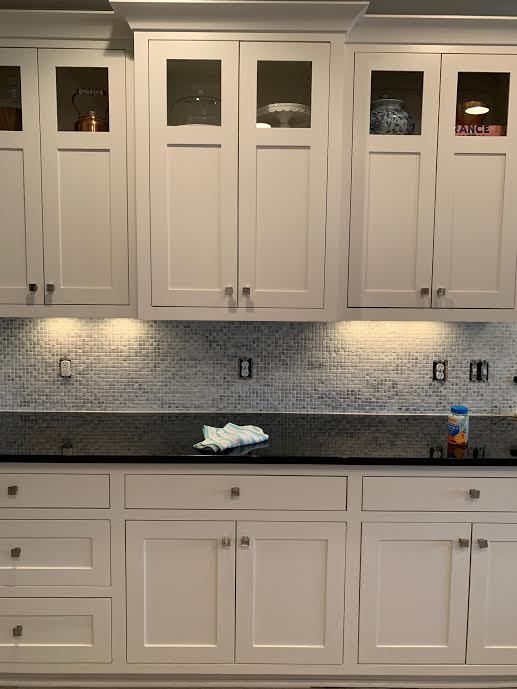
I’m going to lay out the steps that I took to approach this project, the time involved, and how it’s held up. BUT FIRST, there are a few important things for us to chat about before we get started. Paint can be a great temporary fix or a way to try out a look or a new color before doing a full demo/renovation. I painted our backsplash with the intention of buying time knowing that we may have to fully retile it one day with tile of my dreams. I’m not expecting this paint to last 30 years and to never be chipped or blemished. I will be thrilled with the years this buys and you know what if it chips? I can sand spots and touch them up again. Please go into this knowing it the nature of this is more of a temporary fix versus a forever/permanent fix. Alright, phew, glad we covered that. Now let’s check out some before shots of our kitchen. I knew this kitchen had great “bones” with it’s cream shaker cabinets and classic black granite counters, but it just wasn’t quite my style. (I do want to add that I am actually SO happy and blown away by the results. I actually love the look of this tile so much that it has totally satisfied my updated feel and at this time I feel no need to renovate or change the tile completely)
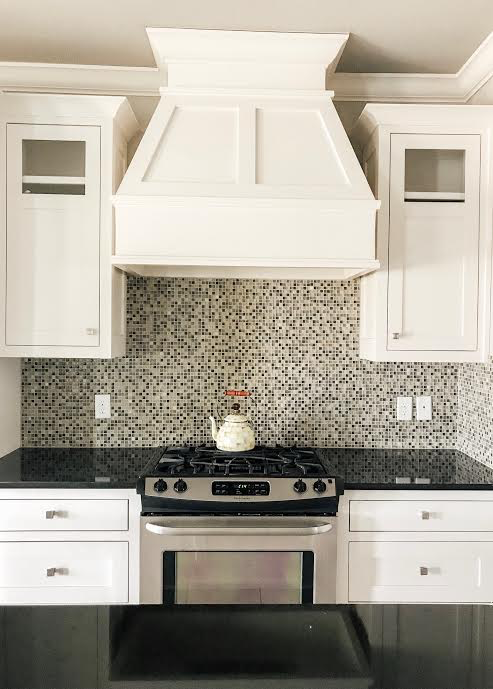

This kitchen was the perfect fit for someone else, but for me, and my light/bright soul, I needed her a little lighter and brighter. The dark heavy counters and the dark backsplash ate up a lot of light in the room.
BEFORE YOU EVENT PAINT: Go to your local paint store (I went to Sherwin Williams and they were wonderful) and show them pictures of your tile. Describe the nature of it (glass, cement, porous, bumpy, smooth, shiny or dull etc) and ask them for what kind of primer to get. They are truly paint experts of a variety of surfaces and they will help direct and guide you for your specific material. I used Sherwin Williams Extreme Bond Primer due to the glass tiles and glass is really hard to have paint stick to.
S U P P L I E S:
Painters Tape (I like 3M blue painters tape. They offer a variety and I’ve always had great success with it.
Contractors Kraft Paper//Newspaper//Plastic to cover your counters
Screw driver for removing outlet covers
Primer (consult a professional at a paint store to see which specific one for your material of tile)
Two-Inch Brush (I swear by this Wooster one. It’s high quality and I’ve used it for almost every project.
*Roller (I never used a roller— Our tile was so small and I had so much grout it would be pointless. If you have super smooth tile use a 4.5 inch foam roller and brush and if you have a more porous surface get a roller that will match the semi-rough to semi-smooth nature of your tile (often 0-0.5 inch nap is perfect, something like this could work)
Hand-Held Paint Pail- I swear by my Wooster Pelican and these liners for them (pro tip: let the liners dry out and use them over and over and over. Seriously. I think I’ve only bought liners once in the last 5 years of painting) \
Paint -Most Important Step. I recommend Semi-Gloss or Satin Oil Based Paint. Get something you will be able to wipe down. Matte or Flat finish is beautiful, but it is more porous and will hold spills or dirt much more. Again, consult your paint person. I actually ended up using left over Benjamin Moore Self-Leveling Semi-Gloss Trim Paint in ‘Simply White’ and y’all it worked like a dream. Self-leveling paint minimizes brush strokes which makes the whole thing feel much less like paint and more like tile.
T I M E: This whole process will take at least a day or two due to drying times between your coats of paint. Be patient. Dry time is crucial to letting the paint set and adhere to the tile. Give. It. Time. Friend. PAINT TIP: Wrap your brushes in plastic grocery bags and stick them in the refridgerator between coats
DURING

S T E P S:
Remove outlet covers and tape screws to the back. Put in a safe place.
Wipe down your backsplash with soap and hot water (I like to use Dawn Dish soap to cut any grease and make sure it’s workin’ real hard). If your backsplash is super greasy, do this twice or bring in the big guns of a harsher cleanser.
Make sure your backsplash is completely dry, and you can start prepping your space.
If you have porous counters like laminate, wood or possibly concrete, I would recommend covering them with construction kraft paper and tape or newspaper or a taped-down thing plastic tarp.
(Full Disclaimer: I did not do this step. I knew I would be painting our walls and our countertops are granite. Any little drips or drops that made it on it I would either wipe it up or I was able to scrape it all off at the end. However, I only recommend doing this at your own risk.)
PRIME (24 hours for the first coat)
I started this in sections, moving my way around the room. Start by cutting in on the edges with you 2'“ brush. When you are by the cabinets go slow and be very careful (tape off this part if you are nervous you are going to get paint on it. Also keep a damp rag near by and wipe off any paint that strays onto cabinets or walls)
Then use the 2” brush to get all in the grout and then go over the tile last. Again, my tile was small so I didn’t need to use a roller, but you could use a roller at this point to cover your tile smoothly.
Let this first coat cure and really bond with the tile for 24 hours. I know. I know. Time and patience and waiting is hard. This step is crucial. I tried to rush it at first and the paint started to move around on the glass tile. If you have more porous tile you should be fine after 12 hours or so, but better safe than sorry right?
My two cents: If you are really lightening up from the tile color to your paint color and you feel like the primer hasn’t given you a good enough base, you CAN paint another coat of primer. Primer is often cheaper than paint and adding the second coat will just add to your base, by giving it a nice blank slate. I’d give it 2-4 hours of dry time before moving on to paint.
PAINT IT (4 hours of dry time between coats or time according on paint can)
We’re ready for the good stuff. The big change! Follow the same steps above, but now you are using your paint you chose. Again, I used left over trim paint in a semi-gloss finish. I loved that this paint had self-leveling properties and it minimized any brush strokes that were there. Semi-gloss finish allows it to be wiped down easily, but it does have a little more sheen than I typically prefer. If it’s a little too shiny for you I recommend going with Satin. While a Matte or Flat finish would be beautiful (that’s what I did at first), it won’t wipe up stains or spills easily and it will hold onto dirt. It’s more porous and less resistant to wear.
Estimate needing to do approximately 2-3 coats. Check it at all different times of day to make sure you didn’t miss any spots.
*Note: I never found I needed a clear sealer on top. The nature of the semi-gloss paint has been super durable. However, talk with your local paint store and see if they recommend it based on the type of paint you get.
SNAG A PRINTABLE REFERENCE: How to paint Backsplash Quick Guide: PDF
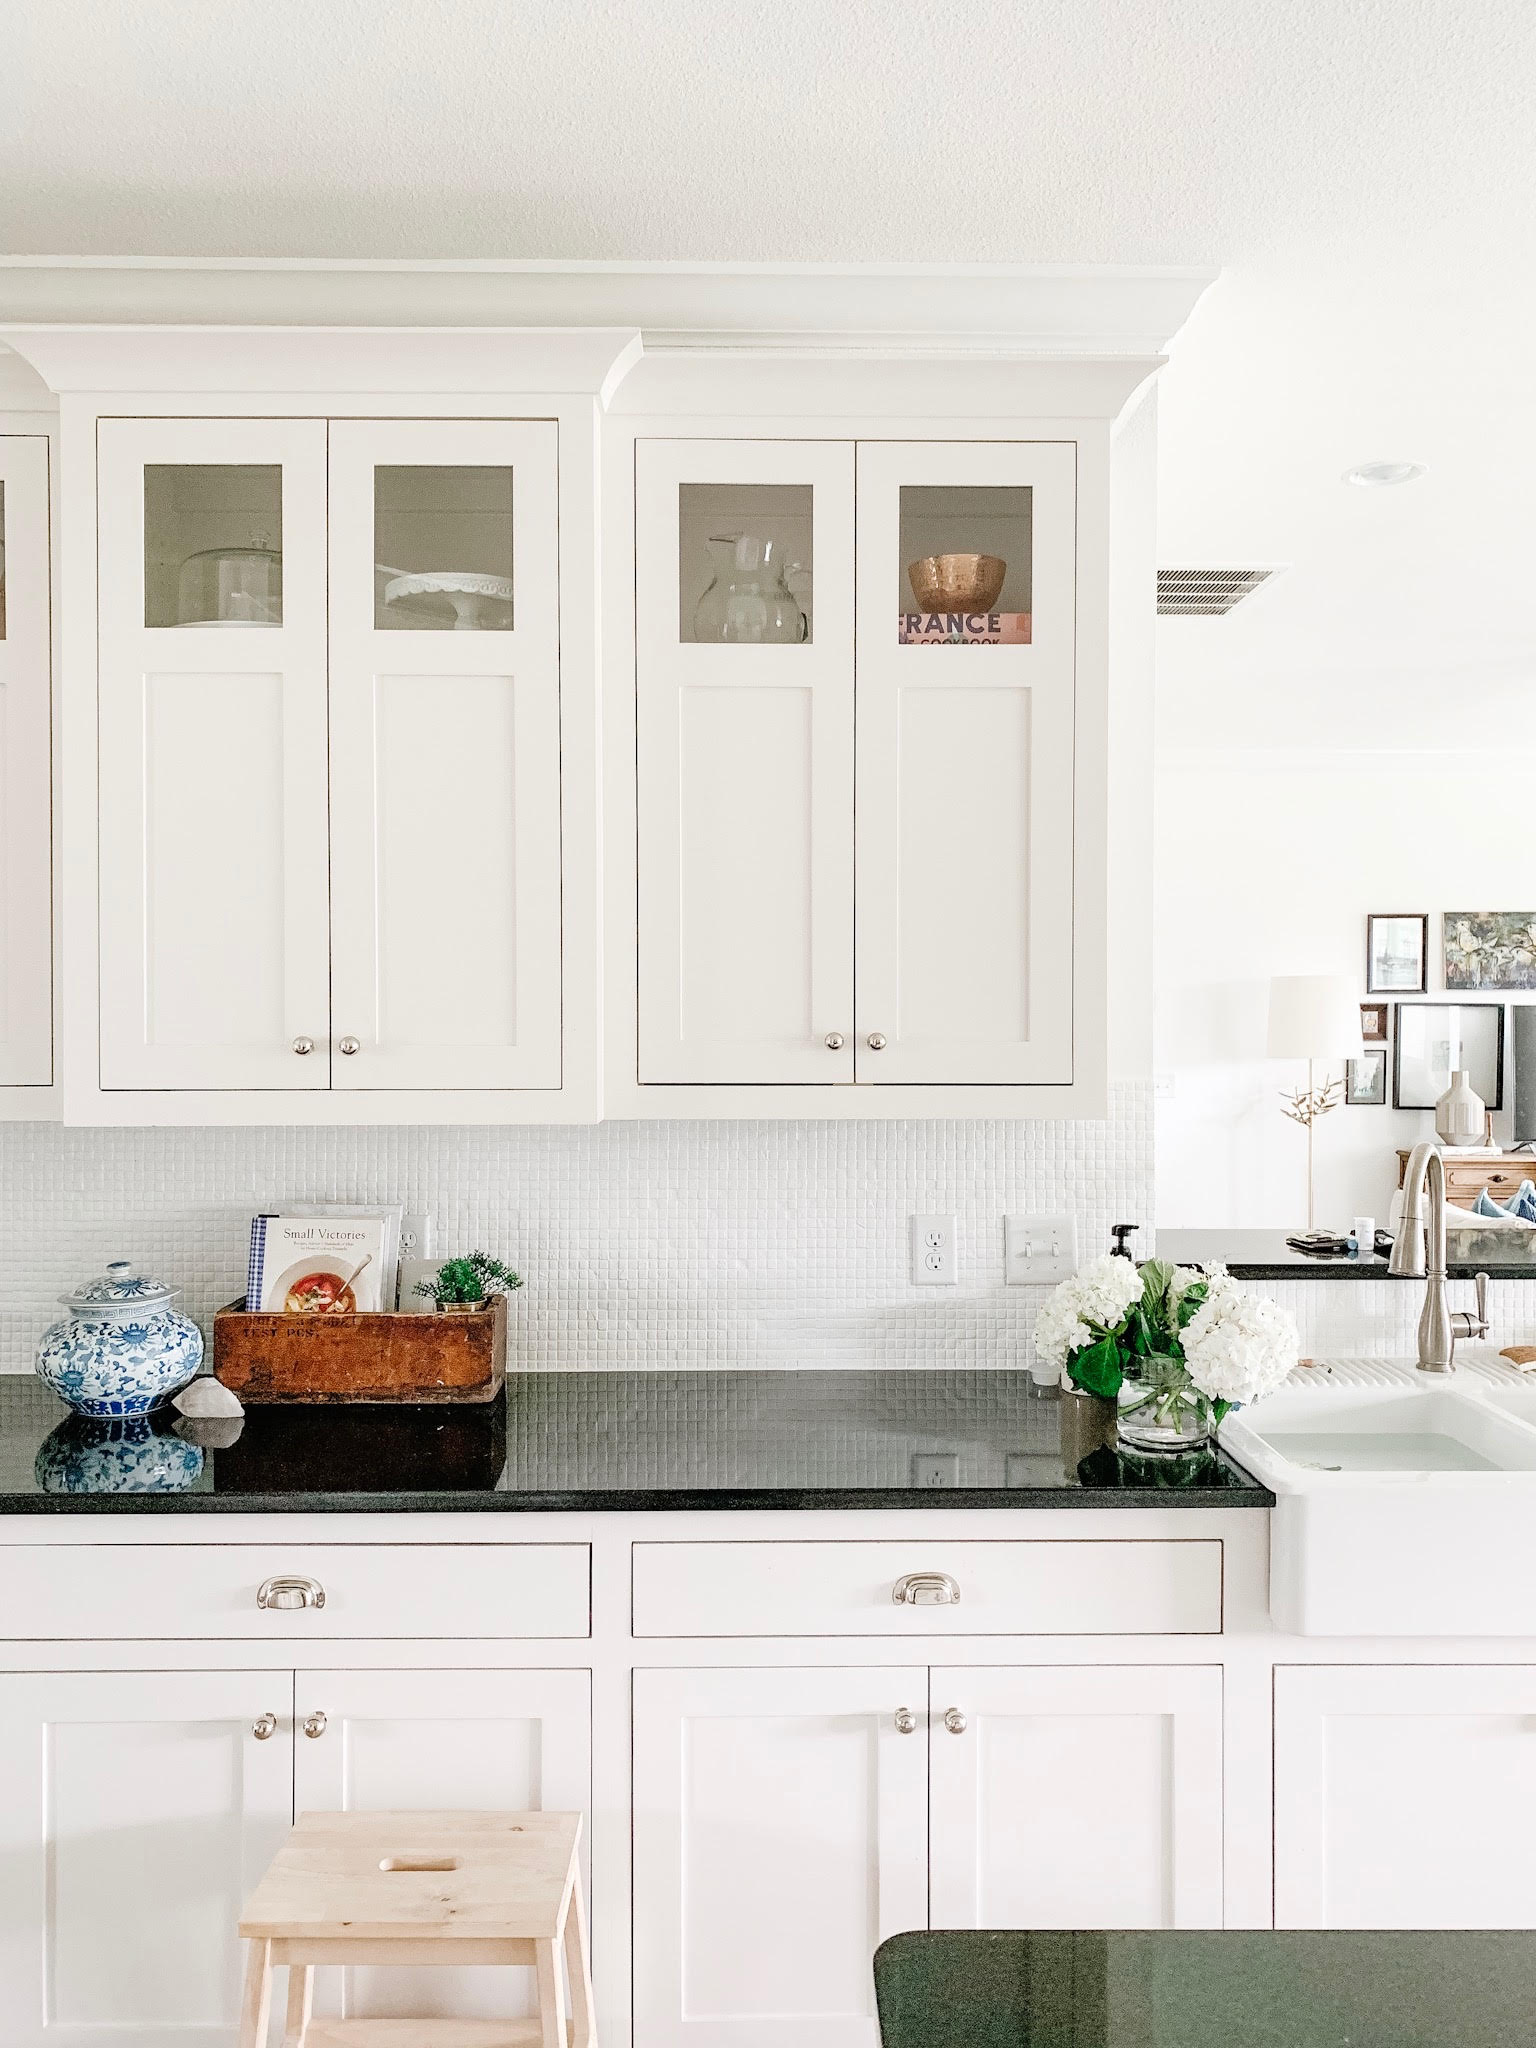
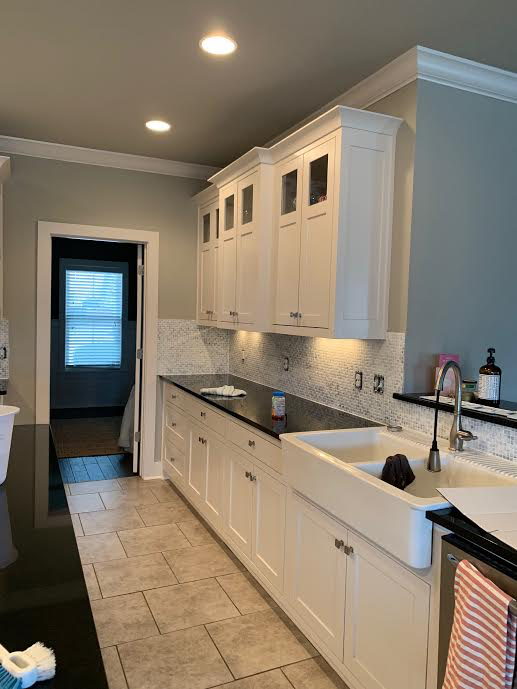
And here’s the after
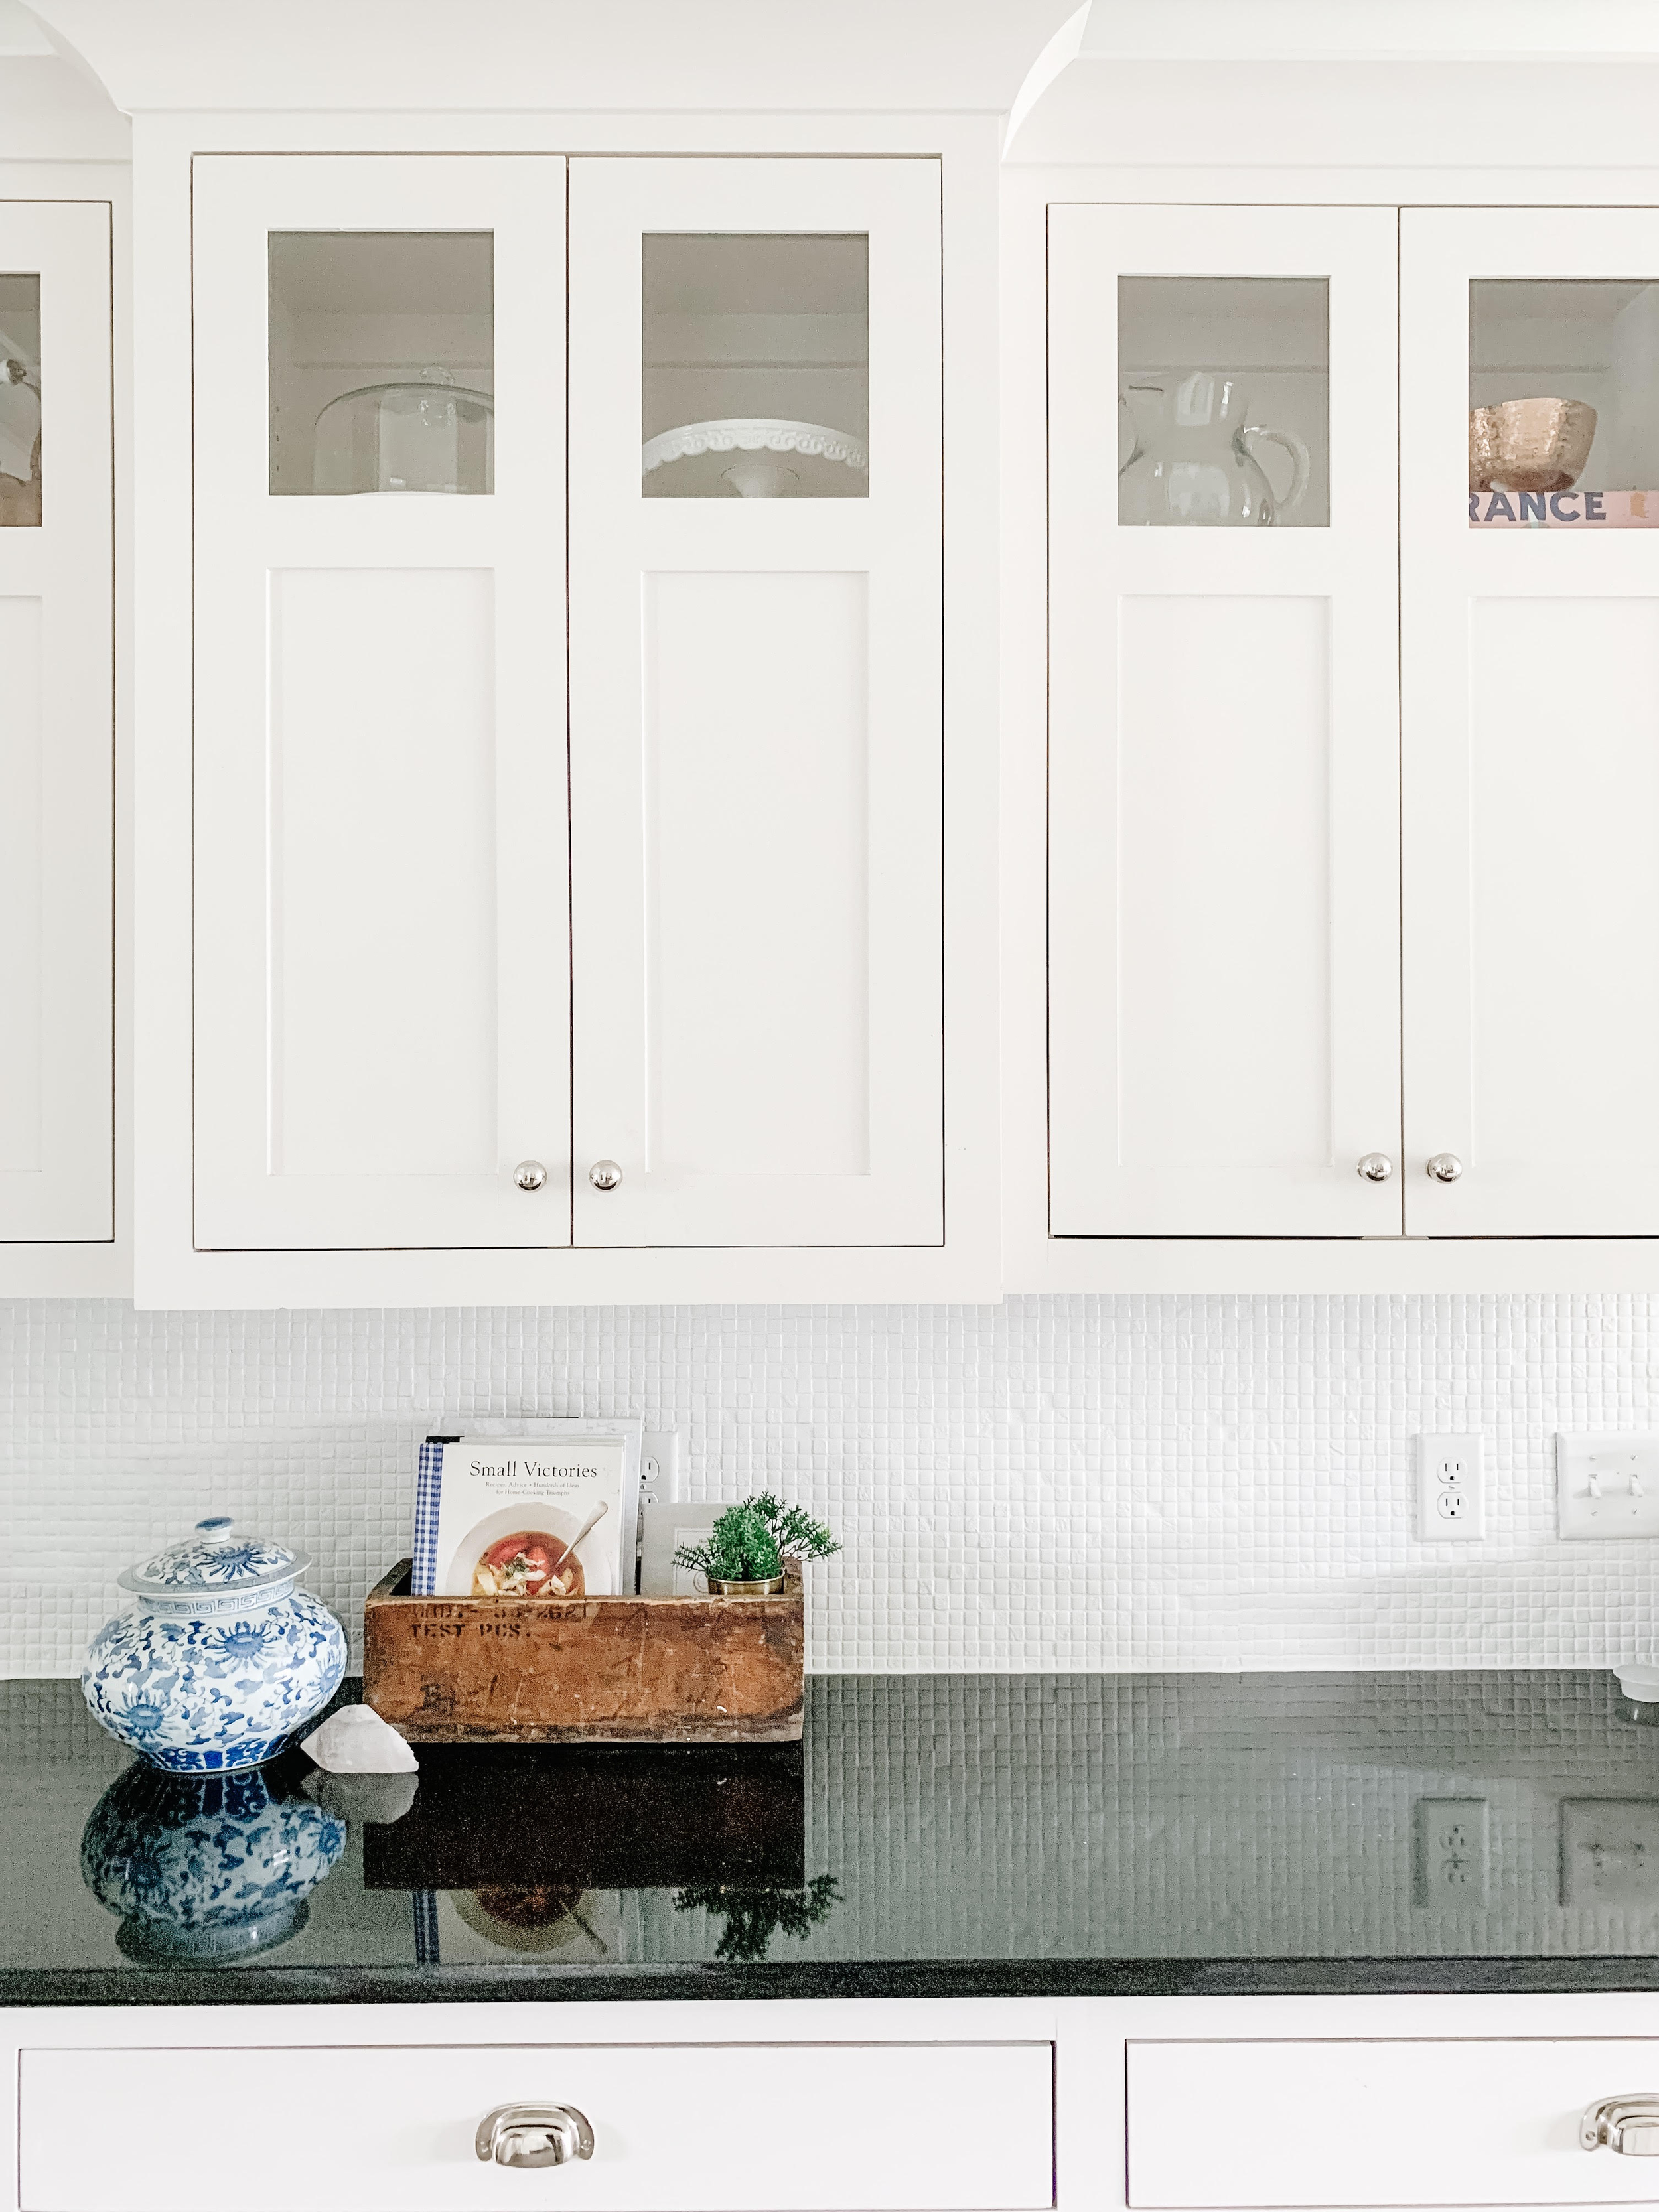

The texture and the classic look of the black // white combination feels oh so right.

Click on the image to download your own Quick Reference Guide Below:


